What Happens Between Templating and Installation?
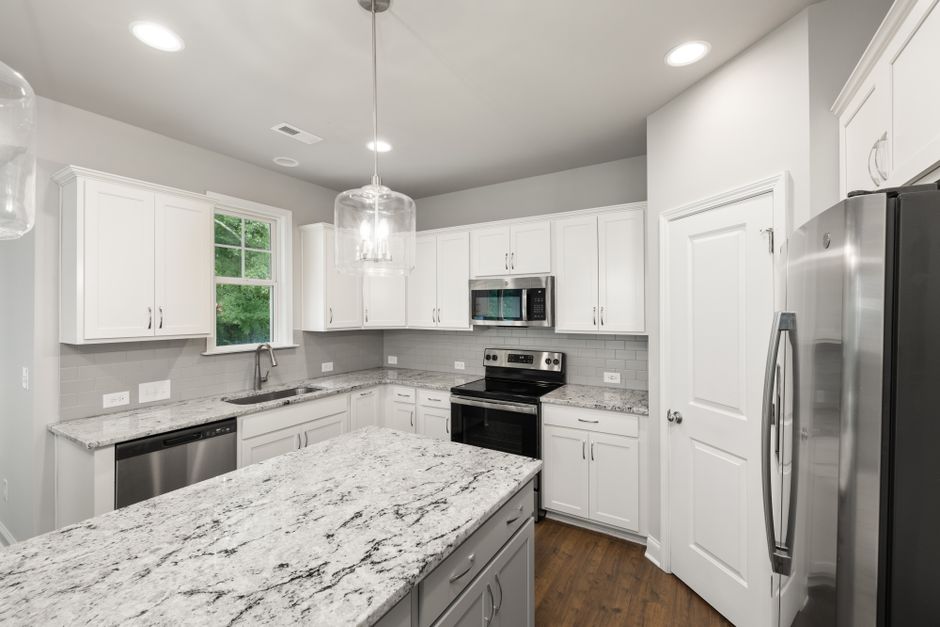
Where the cabinets are already installed and level, countertop work in Spokane, WA follows a fixed order (set out at countertops spokane 9e2 seattle) of templating, slab layout, cutting, edge work, setting and sink mounting. Each step depends on the one before it, and a mistake at the start is carried through to the install day.
Templating the installed cabinets
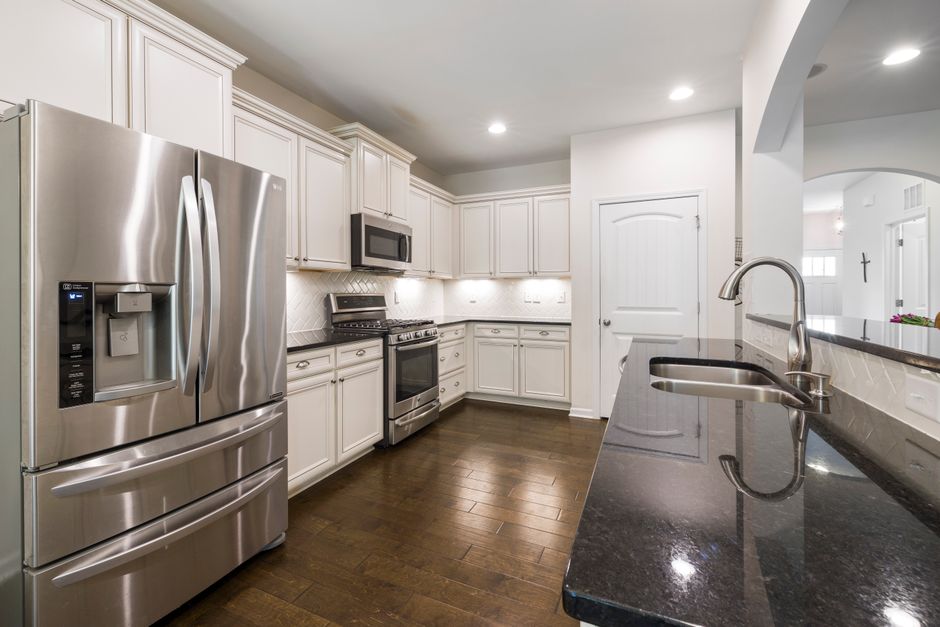
Templating records the installed cabinets and walls, using either a digital measuring system or a physical pattern. A template made before the cabinets are in place cannot be relied on, because a box that shifts half an inch moves every cutout with it. Walls in older Spokane homes seldom run straight, so the template picks up the wavy lines the stone has to follow. The overhang at a seating area is marked at this stage as well, along with the sink and cooktop positions.
Laying the template on the slab
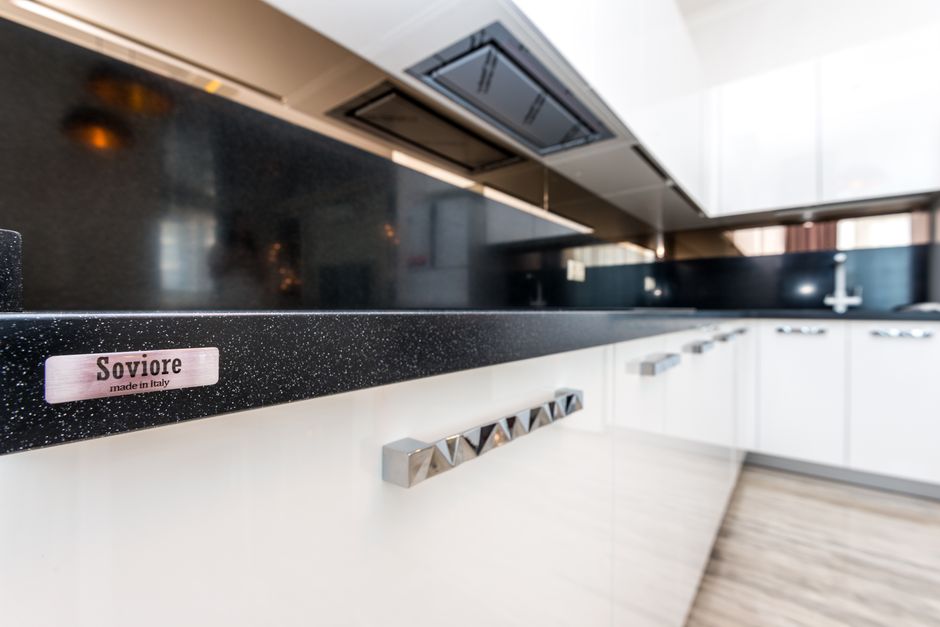
The template is laid out on the slab to plan seam placement, vein direction and the placement of cutouts. A natural slab of marble or granite changes across its face, and a small sample overstates how even the whole piece will look. Quartz is more uniform, though patterned runs still need matching at the joints. Not every kitchen can be done without a seam. A long run or an L shape usually needs one, so the aim is to put it where it is least visible and best supported.
Cutting the stone
Stone is commonly cut with water-cooled saws. Many shops also use CNC machinery or waterjet equipment for shapes and cutouts, such as the sink opening and cooktop corners. The water keeps the blade cool and holds the dust down. Inside corners on a cutout are rounded, because sharp corners leave thin stone that tends to crack under load.
Forming the edge profile
Each edge profile is formed and polished in stages using progressively finer abrasives. An eased edge takes fewer passes than a bullnose, and a waterfall edge adds mitered pieces that have to line up along the vein. Skipping a grit leaves visible scratches in the polish, so the order matters more than the speed.
Fitting, seams and the sink
Pieces are usually test fitted on site. Installers may shim the tops or scribe the edges so they meet uneven walls neatly. Seams are filled with color-matched epoxy or similar adhesive, and seam setting tools pull the pieces tight and level while it cures. Undermount sinks are secured to the underside of the top with adhesive and mounting hardware, and they should be supported as directed until the adhesive cures. Plumbing and appliances are reconnected after the sink and top are secure, following the adhesive maker's cure guidance. Hooking up early is how a sink ends up hanging on its clips instead of its glue.